Why Lab Photochemistry Needs UV Lamps That Are Built for Precision
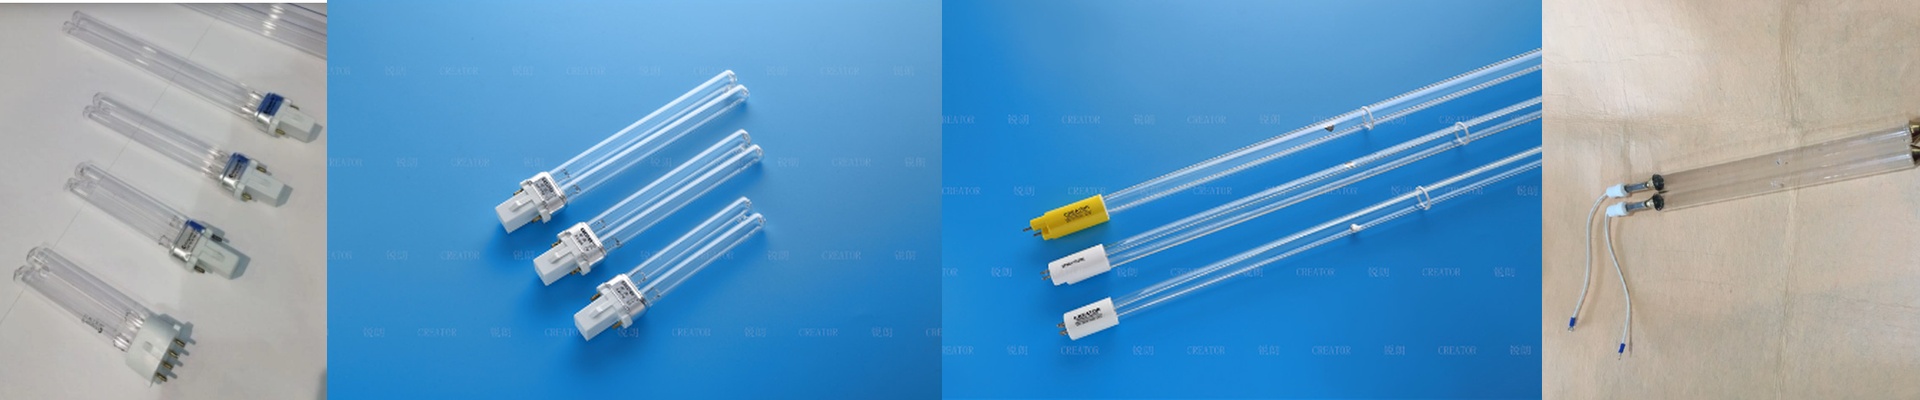
In the lab, your UV lamp isn’t just a light. It’s a reagent you can actually control. That’s why we build custom UV lamps for photochemical reactors—because your experiments live and die by repeatable, precise light. When you’re curing plastics or running photoreactions, stray wavelengths are sneaky troublemakers. They trigger side reactions and wreck the consistency of your samples. You don’t need brute power. You needclean, targeted light.
Getting the Details Right: Power, Voltage, and Fit
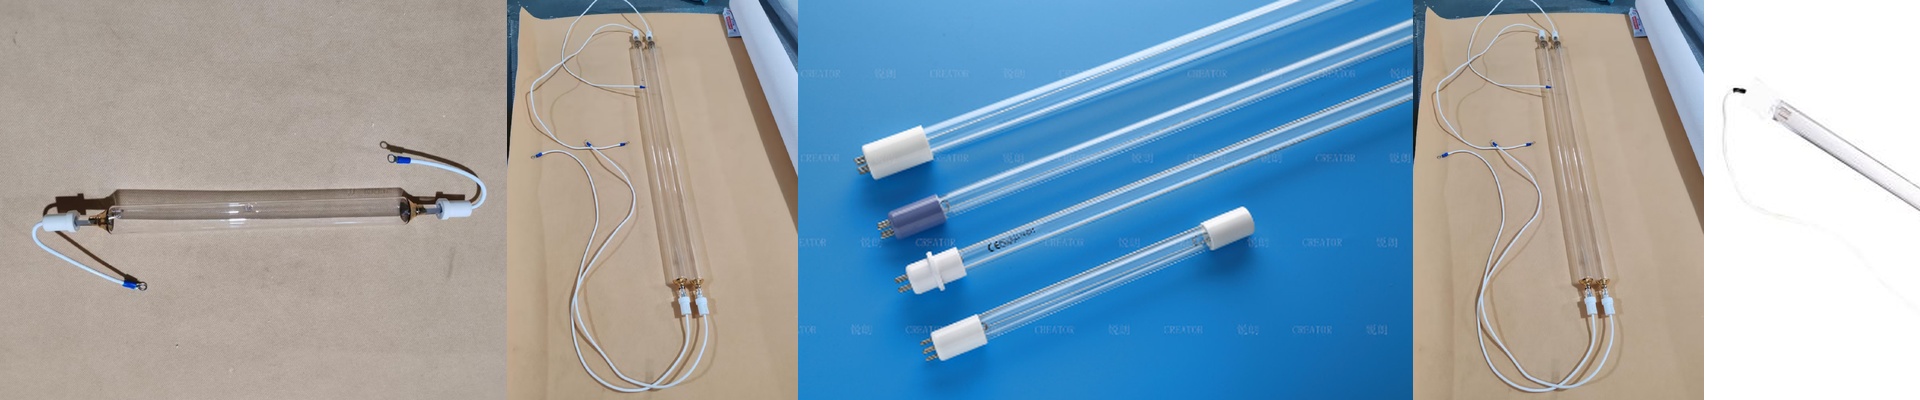
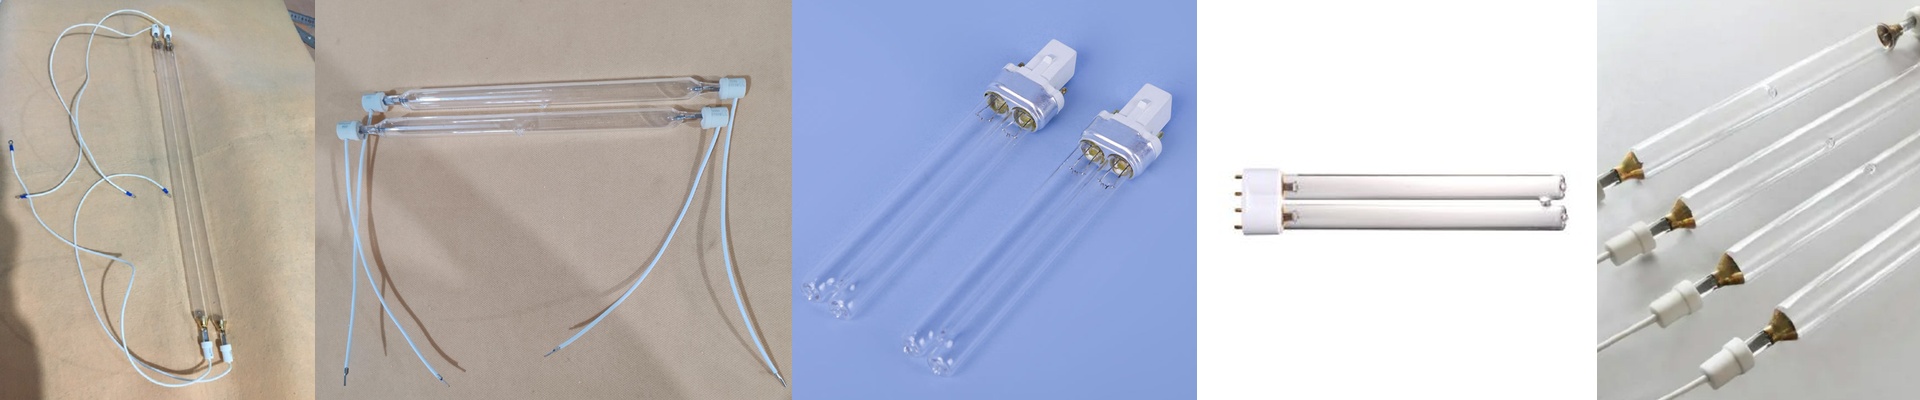
We design the lamp around your reactor’s shape and the reaction’s timing. A 400V high-voltage input keeps the arc stable, even in compact tube lengths—think around 300mm. That means the lamp can fit neatly into tight reaction chambers without fighting for space. At 2500W, you get the photon flux needed to kickstart photopolymerization fast on plastic surfaces. This power density is what helps you hit cure targets in seconds. But there’s a trade-off: the lamp runs hot. So your lab setup needs proper cooling. If you don’t manage the heat, the chamber overheats and your reaction temperature starts drifting.
Built to Stay Consistent: Halogen, Quartz, and the Right Fit
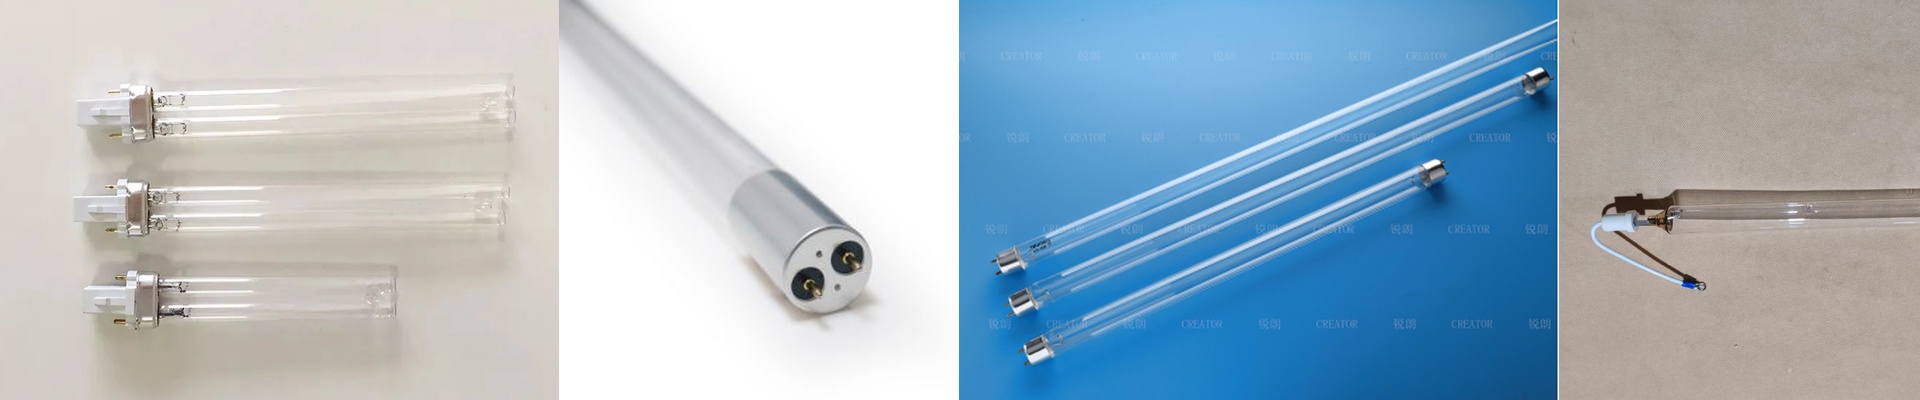
Inside, we use a halogen cycle within a high-purity quartz envelope. This combo keeps UV output steady over long runs and resists the blackening that can kill performance. Quartz is key because it transmits shortwave UV with minimal absorption—so the spectrum stays honest. For installation, we use an R7s bi-pin connector. It’s a simple, secure, high-current connection that makes swapping lamps quick. The footprint stays small, and wiring stays clean, even in cramped reactor bays.
What It Feels Like in Your Work: Curing That Actually Repeats
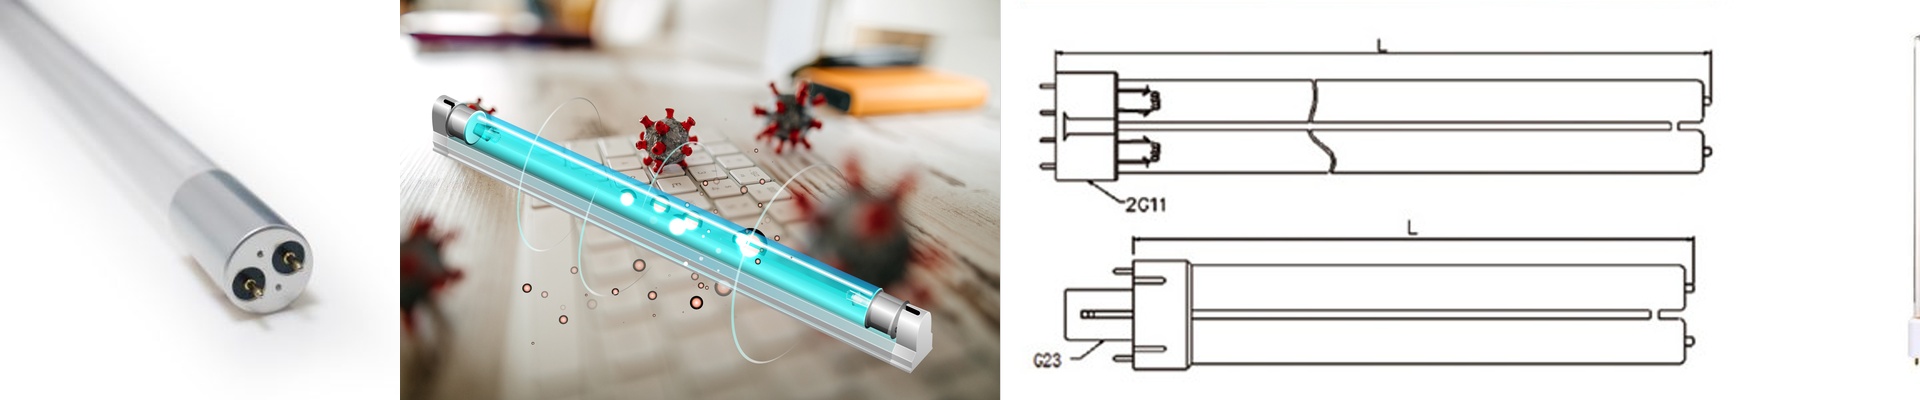
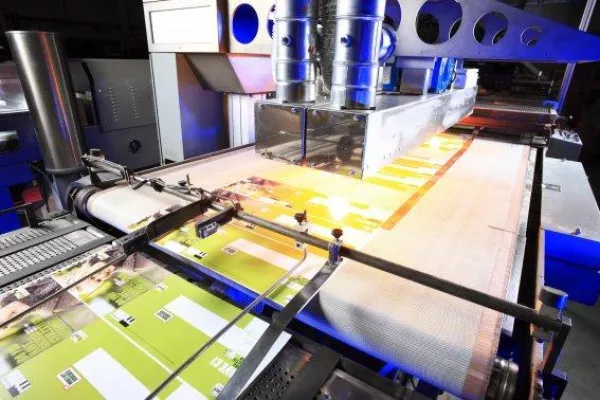
In plastic curing, spectral purity is the difference between guesswork and confidence. A custom UV lamp with a narrow, controlled spectrum cuts out the broadband noise that causes uneven curing and that unwanted yellowing. High power, compact size, and stable output add up to results you can count on—batch after batch. Fewer failed runs. Less wasted material. Just keep one thing in mind: when you run at full power, your cooling and electrical setup need to be up to the task.